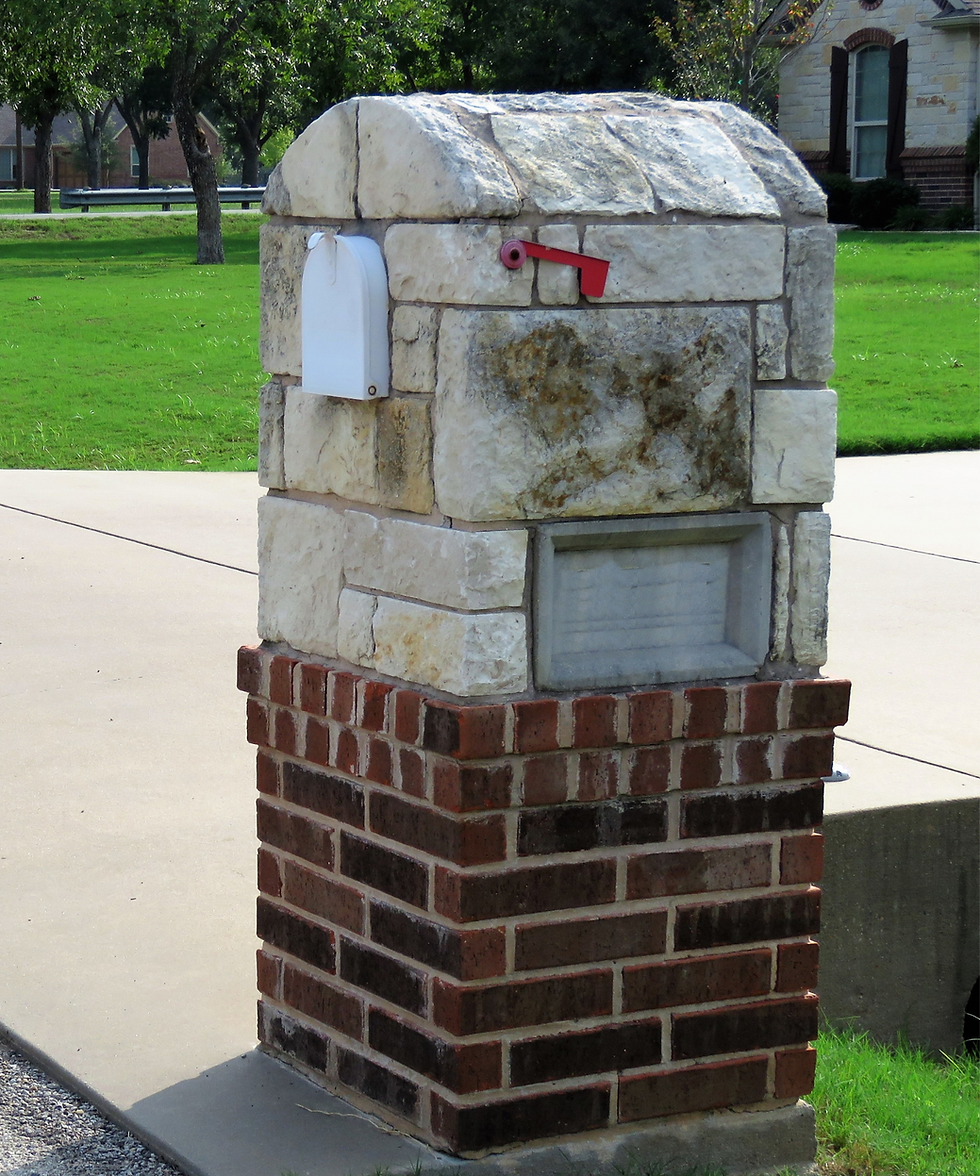
How To Drill Into Brick or Mortar: The Step-By-Step Guide
- srcustommasonry
- Sep 26, 2025
- 7 min read

Whether your home has a brick exterior or you have some decorative brick inside your home, odds are there’ll come a time when you want to hang something from it. Knowing how to drill into brick can be intimidating, especially if you’re hanging something fairly heavy. The good news is, drilling into brick isn’t as scary as it seems and isn’t all that difficult. It’s mainly about using the right tools and knowing the proper technique.
Can You Drill Into Brick?
So, we’ve established that you can indeed drill into brick. However, there are certain things to look out for so you don’t harm the brick surface and make a mess of things. Keep in mind that not all bricks are created equal. Some are soft and crumbly, while others are extremely dense. If you apply too much pressure or drill too quickly, it’s easy to crack or chip the surface. Even small mistakes can leave rough edges that are hard to fix and may affect how your item hangs.
Another often overlooked concern is that bricks tend to have hidden weak spots, small air pockets, or inconsistencies inside. The problem is that you won’t see these from the outside, but if the drill bit hits one, it can wander or punch through unevenly. This can make the hole bigger than intended, making anchors loose or unstable. For heavier items like large mirrors, shelves, or wall-mounted racks, this is especially important. An anchor that’s poorly secured could cause the item to fall and damage the wall or cause injury.
Where to Drill
One of the most common questions when working with brick is whether you should drill into the brick or the mortar. The weight of the item you’re hanging will be the determining factor.
Drill Into the Mortar for Lighter Items
When you’re hanging something light, it’s usually best to aim for the mortar instead of the brick itself. Mortar is softer and easier to drill into, which makes installation quicker and less stressful. For example, picture putting up a small decorative wall plaque. These items typically weigh under ten pounds, so the mortar can hold them without any problem.
Using the mortar for lighter items also helps preserve the brick. You avoid unnecessary cracks or chips, which can happen if you drill directly into the brick every time. Just make sure your anchor is suitable for the weight and type of item you’re hanging. With the right anchor, even a slightly heavier item, like a small shelf under fifteen pounds, can often be supported safely in the mortar.
Drill Into the Brick for Heavier Objects
For heavier objects, it’s better to drill straight into the brick itself. Bricks are much stronger than mortar and can handle more weight over time. Think about hanging a large mirror or a heavy coat rack. These items can easily weigh twenty to fifty pounds or more. Placing your anchor in the brick ensures it won’t loosen or pull out.
When drilling into brick, use a masonry bit and take your time to prevent cracking. Be aware of the type of brick you have because some older or softer bricks may require extra care. Using the proper anchor, you can hang things like wall-mounted shelving, large mirrors, or even a small TV securely. Drilling into the brick gives you confidence that your heavier items will stay put for years.
How To Mount Something Onto Brick
Choose the Right Spot
Start by thinking about where the item will look best. Consider the height at which it will be most visible and how it aligns with other pieces in the room. Think about natural sight lines, lighting, and how people will interact with the space.
Check the Wall Type
Before hanging anything, determine what kind of brick you’re working with. Soft bricks feel brittle or leave a slight mark when tapped, while harder bricks feel solid and firm. Knowing the type of brick helps you choose the right anchors and screws, prevents cracking, and makes sure your items stay securely in place.
Mark the Placement
Use a pencil to lightly mark exactly where the fasteners will go. Measure carefully and double-check spacing if you have multiple items to hang. We definitely recommend using a level or measuring tape to ensure symmetry. Making these marks clearly but lightly lets you make adjustments without leaving permanent marks.
Select Appropriate Hardware
The right hardware depends on both the wall type and the weight of the item. For lightweight items, basic nails or small screws should work fine. For heavier items, you’ll want to choose wall anchors, toggle bolts, or masonry anchors.
Drill or Prep the Wall
Once your placement and hardware are ready, prep the wall. Use a drill to make pilot holes or a hammer for nails as needed. Take your time and go slowly, especially with harder surfaces. Rushing can crack or chip the wall, and uneven holes can make hanging much more of a headache.
Install Anchors or Screws
Insert your chosen anchors or screws into the prepared spots. Make sure they are straight and fully seated. For anchors, make certain they expand properly inside the wall. A securely installed fastener gives your item the support it needs.
Hang and Level the Item
Finally, place your item on the hardware and check its level. Use a bubble level or smartphone app to confirm. Take a step back and see how it looks to you. Make any adjustments as needed.
Tools and Supplies Needed
Hammer drill, or Rotary hammer
Masonry drill bits
Wall anchor
Ladder
Work gloves
Drop cloths
Broom and dustpan
Shop vac
Mop
Protective eyewear and facemask
Pencil for marking
It’s helpful to understand that a hammer drill combines spinning with a rapid hammering action, which helps break through brick more efficiently than a regular drill. A rotary hammer uses a piston mechanism to deliver stronger, more powerful blows, making it ideal for harder brick or larger holes. If renting a rotary hammer and masonry drill bits is an option, it’s definitely worth considering for tougher projects where a standard hammer drill might struggle.
How to Choose the Right Anchors for Brick Walls
Not all anchors are created equal, and using the wrong type can lead to a loose hold or significantly damage your brick. The anchor you pick should match both the weight of the item and the type of brick. Softer bricks may need larger anchors that distribute weight more evenly, while harder bricks can handle standard masonry anchors.
For lighter items like small picture frames or plaques, plastic or nylon anchors are often strong enough. They expand inside the drilled hole and provide enough grip for items under ten pounds. Heavier items, such as mirrors, shelves, or coat racks, require much more robust anchors like sleeve anchors, wedge anchors, or masonry screws. These anchors are designed to hold more weight and resist loosening over time, giving your heavier items a secure attachment.
Here are a few common anchor types to consider:
Plastic or nylon anchors – Best for lightweight items under ten pounds
Masonry screws – Good for medium-weight objects and easy installation
Sleeve anchors – Ideal for heavier items, expand inside the hole for maximum grip
Wedge anchors – Strongest option, best for very heavy fixtures like wall-mounted shelves or TVs
Alternatives to Drilling Into Brick
Not every project needs a drill. Most people avoid drilling holes if possible. If you’re hesitant to put permanent holes in your brick, there are a few alternatives that can still easily hold lighter items. Heavy-duty adhesive hooks or strips can support picture frames, small shelves, or decorative items without touching the brick. These work best on smooth, clean surfaces and are easy to remove when you want to change things up.
Freestanding furniture and shelving units are another way to go. Instead of relying on the wall, you can use bookcases, easels, or display stands to showcase your decor. For renters or anyone who wants to avoid drilling, these solutions keep your walls intact while still giving you flexibility in your space. Even magnetic or tension-mounted systems can work in some situations, providing creative ways to display items without touching the brick at all.
Drilling Safety Tips for Brick Walls
Drilling into brick may seem straightforward, but taking a few precautions can save you from accidents or wall damage. Brick dust, flying debris, and hidden obstacles are all things you need to watch out for. Following some simple safety measures will help keep your beautiful brick wall protected.
Here are some safety tips to follow when drilling into brick:
Wear Protective Gear – Safety goggles keep dust and chips out of your eyes, a mask protects your lungs, and gloves help with grip.
Use the Right Drill and Bit – A masonry drill bit is designed for brick and prevents unnecessary damage or bit dulling.
Keep the Drill Steady – Apply even pressure and let the bit do the work instead of forcing it through the brick.
Take Breaks if Needed – Friction can heat up both the brick and drill bit, It’s a good idea to pause occasionally to prevent damage.
Clear Your Workspace – Remove obstacles and cover nearby surfaces to catch dust and debris. Brick dust can make more of a mess than you might think.
Watch for Hidden Hazards – Double-check for electrical wires, pipes, or other obstacles behind the wall before drilling.
Repairing Holes in Brick After Hanging Items
Even when you’re super careful, holes in brick can happen. Maybe you moved a picture, switched a shelf, or your anchor didn’t hold quite right. The good news is, most holes are easy to fix with a little masonry filler or pre-mixed mortar. Start by cleaning out any loose bits, then fill the hole and smooth it with a putty knife. Once it dries, you can easily paint it to blend in with the surrounding brick.
For bigger holes, a slightly stronger approach might be what’s needed. Pack some fresh mortar into the gap and use a damp sponge to smooth the surface. It won’t be perfectly invisible, but it will hold strong and keep the wall from crumbling. A solid patch keeps your brick sturdy and ready for the next project, whether it’s hanging something new or just keeping the wall looking nice. It’s also worth checking your patched areas every so often, especially if the wall sees sun, rain, or a lot of temperature changes.
How To Drill Into Brick or Mortar Conclusion
Working with brick isn’t hard. You just have to know the right approach and have the appropriate tools. From understanding weight limits to choosing the right anchors, drilling safely just needs careful preparation for great results. Taking the time to plan each step not only protects your items but also keeps your brick in great shape for years to come.
At S&R Masonry, we’re here to help with all your brick and stone needs in the Salt Lake City and surrounding areas. Whatever masonry project you’ve got in mind, our team brings experience, skill, and a practical approach to the job. We make it easy to get the results you want while keeping your walls safe and your project stress-free.


Comments